
Shea butter is made from the seed oil that grows on the shea tree. The shea tree grows in the tropical regions of East and West Africa. Shea butter is created from the two fats present in shea tree seeds. Before being boiled in water, the nuts are separated from their seeds and ground into a powder. From that moment on, the oil sticks to the water's surface. Shea butter is a fat derived from the shea tree's kernel. It solidifies at high temperatures and has a near-white or off-white color. The shea tree is native to West Africa, where the majority of shea butter is still produced.
Shea butter is high in important nutrients that can improve your complexion and make you glow from the inside out.
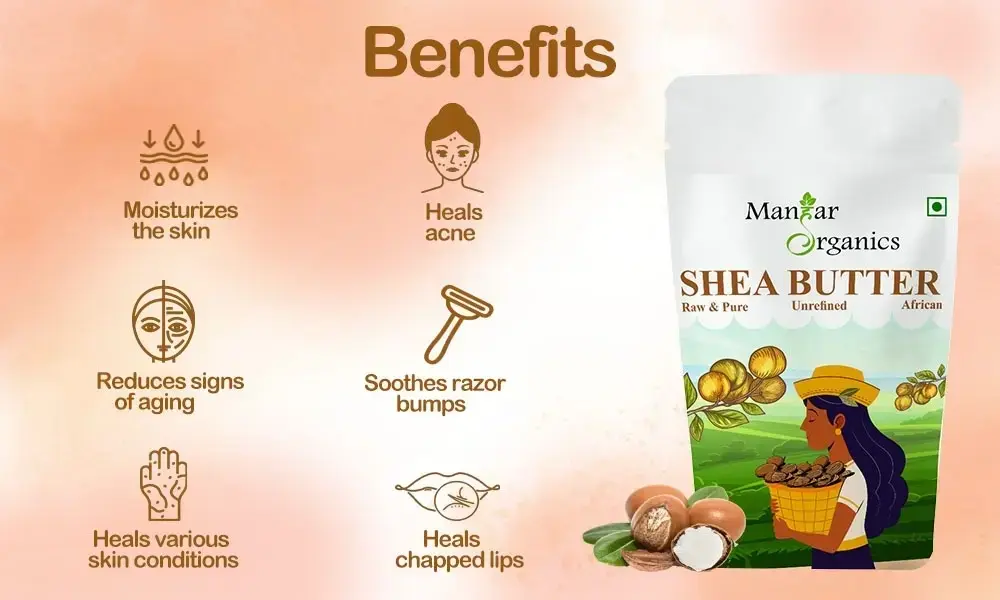
1. It is suitable for all skin types. Shea butter is classified as a tree nut product. However, unlike most tree nut products, it contains very little of the proteins that can cause allergies. In fact, there is no medical literature indicating a reaction to topical shea butter. Shea butter is free of chemical irritants that dry your skin and does not clog pores. It is suitable for almost all skin types.
2. It will not cause your skin to get oily. Shea butter contains a lot of linoleic and oleic acids. These two acids counteract each other. That means shea butter is easy to absorb and will not leave your skin looking oily after application.
3. It has antioxidant properties : Shea butter has high quantities of vitamins A and E, promoting strong antioxidant action. Antioxidants have a vital role in anti-aging. They shield your skin cells from free radicals, which can cause accelerated ageing and dull skin.
4. It can aid with wound healing : Shea is associated with tissue remodelling, which is important for wound healing in addition to lowering underlying inflammation. Its protective fatty acids may also help protect wounds from environmental irritants while they recover.
5. It may aid in the treatment of dandruff: Restoring moisture to your dry and itchy scalp is one method of treating dandruff (atopic dermatitis). According to one Trusted Source review from 2018, shea butter, when used with other moisturisers, can help minimise dandruff flakes and the likelihood of flare-ups. More research is required to determine the effectiveness of shea when used alone.
6. It may aid in the reduction of fine lines and wrinkles: Shea butter may help minimise photoaging, or wrinkles and fine lines caused by environmental stress and ageing, by increasing collagen formation and fostering new cell development.
There are several ways to make use of shea butter; here are a few :
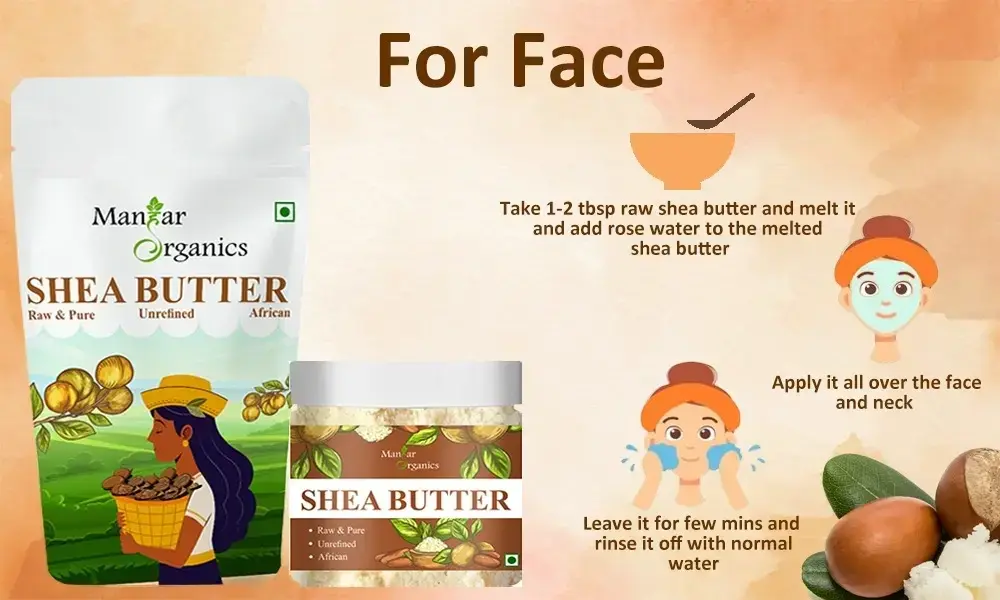
Shea butter can be applied directly to the skin. Raw, unrefined shea butter spreads well.
Scoop a teaspoon or more of shea butter from the container with your fingertips, then rub it into your skin until it's thoroughly absorbed. Because shea butter is slippery and can prevent makeup from sticking to your face, you may want to apply it at night before bed.
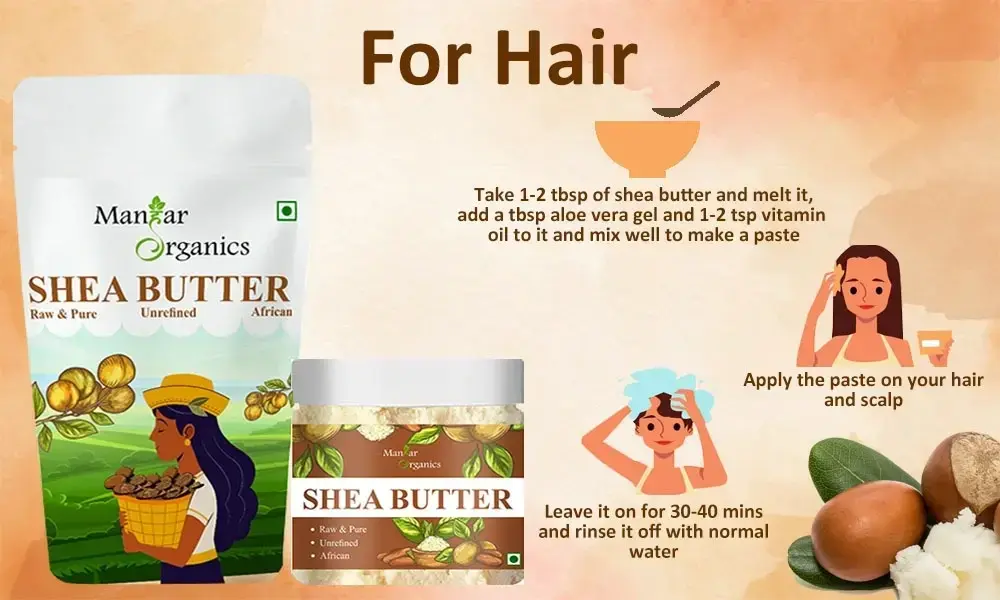
You can also use raw shea butter on your hair.
Consider using shea butter as a conditioner if your hair is naturally curly or porous. Before rinsing and styling as usual, make sure your hair has absorbed the majority of the shea butter. A small bit of shea butter can also be used as a leave-in conditioner.
Consider putting shea butter on the ends of your hair if it is naturally straight, thin, or fine. Applying shea butter to your roots may result in an oily buildup.
1. As a moisturiser
Shea butter can help moisturise even the most damaged, dry skin. Shea butter has an oil-like feel when applied to the skin and is easily absorbed. It can help relieve skin stiffness and dryness by replenishing moisture. Shea butter can be used as a moisturiser all year. It restores hydration and soothes your skin in regions where you may be experiencing skin irritation or excess skin shedding in the winter in colder locations, when skin can be dry and flaky. In the summer, it's ideal for using after a day in the sun to restore skin hydration and calm your skin.
2. To Get Rid of Dandruff and Scalp Irritation
Shea butter offers calming properties that can help relax your scalp, especially if you have a dry scalp. Apply a little amount of shea butter to your scalp in a circular motion, sectioning off your hair. If you have dry hair, you can comb shea butter through it and leave it on for up to an hour before shampooing.
3. To relieve chapped lips
Do you have dry, chapped lips? Shea butter can be beneficial. Shea butter is excellent for treating chapped skin, which is especially frequent on the lips in the winter, and it aids in healing. Apply a small amount in the morning and evening to keep lips soft and smooth.
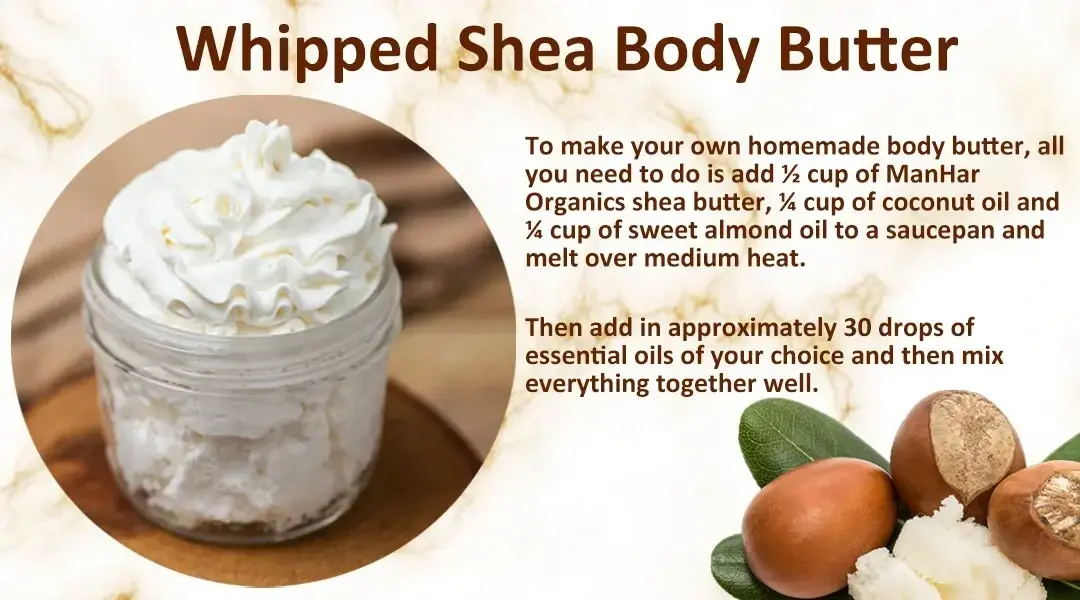
Homemade Shea Butter Lotion
The natural ingredients may be purchased at most health food stores or on Amazon. Each component was carefully chosen for its natural moisturising properties.
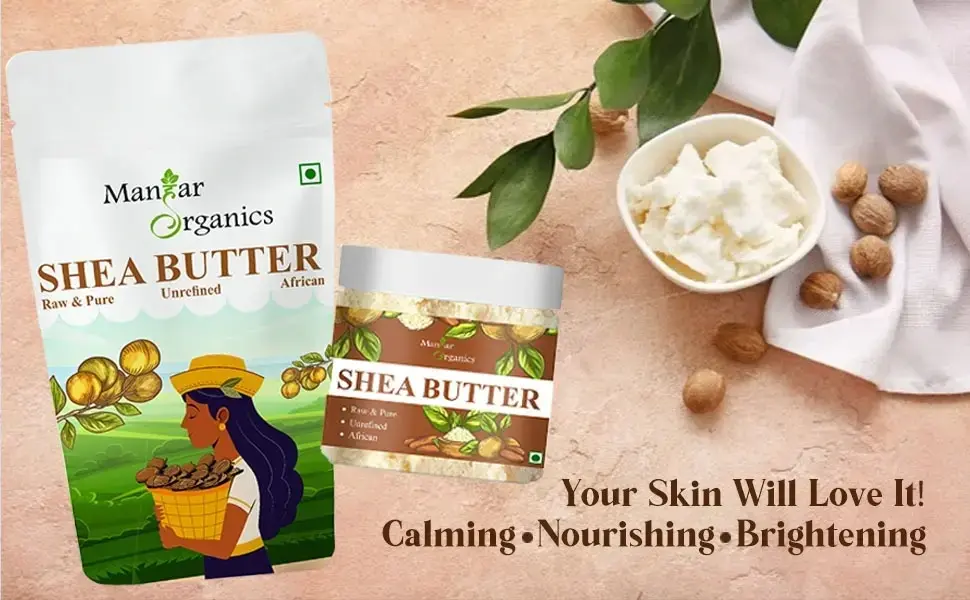
You can purchase Shea Butter from our website: https://manharorganics.com/
. Ingredients and Tools Required
Instructions in Steps
Here's a step-by-step guide to making shea butter lotion.
Step 1. Melt the Shea Butter
Melt the shea butter without burning it. Make a homemade double boiler to keep the shea butter from burning. This will allow you to melt the shea butter without exposing it to direct heat.
Place a medium-sized glass bowl over a sauce pan half-full of water. The glass bowl should rest just on top of the pot, not touching the water.
Allow the water in the saucepan to simmer over medium heat. Then melt in the shea butter.
Turn off the heat and remove the bowl from the heat once the shea butter has completely melted (approximately 2-3 minutes).
Step 2: Pour in the Nourishing Carrier Oil.
1 teaspoon arrowroot starch whisked into a liquid oil of choice (grapeseed oil, sweet almond oil, or jojoba oil). Pour the oil (and, if using, the arrowroot starch) into the shea butter.
You can skip the arrowroot starch and just add the oil to the shea butter at this point. Arrowroot produces a non-greasy lotion.
Step 3: Chill in the refrigerator
The shea butter and oil mixture (along with the bowl) should be cool at this time.
If not, set it aside for a few minutes. Then place the mixture in the fridge to solidify (about 30 minutes to 1 hour, depending on location and temperature).
Alternatively, place the bowl in the freezer to expedite the process.
Step 4: Incorporate Essential Oils
Remove the bowl from the fridge once the mixture is opaque and stiff (but not rock solid).
If desired, add the essential oil (or a blend of essential oils). To this mixture, add up to 15 drops of skin-safe essential oils.
Step 5: Lightly whip the Shea Butter
Whisk the ingredients with the whisk attachment and an electric mixer, hand mixer, or fork until it appears "whipped." This takes only a few seconds with a mixer and a little longer with a fork.
Step 6: Pour the lotion into a jar.
Now you may enjoy this great homemade lotion recipe and all of its benefits (we'll get to those in a minute). Alternatively, give the lotion as a gift.
Choose a lovely glass jar and spoon your creation into it. If desired, add a label. And, for up to 6 months, keep the lotion at room temperature in a cool place (like a bathroom cabinet).
Using your finger, scoop a small amount of shea butter lotion from the jar and rub it between your hands. The shea butter will soften as a result of the heat from your palms. Massage into your skin in the following areas: face, arms, legs, feet, dry regions, and so on.
A small amount goes a long way.
After cleansing (my favourite natural face cleanser) and toning (a spray of rose water is my favourite), apply this moisturiser to the face. Apply a facial serum before applying the lotion if you use serums.
The optimum dose of shea butter is determined by various factors, including the user's age, health, and other conditions. There is currently insufficient scientific evidence to define a suitable range of shea butter doses for children and adults. Keep in mind that natural products are not always safe, and dosages can be critical. Before using, always follow the advice on the product label and consult your pharmacist, physician, or other healthcare expert.